
Tutorial: DIY Dentil Molding
- Jan 29, 2025
- 2 min read
Updated: Mar 11, 2025

Wall molding is the underutilized key to making any space look high-end. Don't believe me? Look at some regency-era rooms (like the show Bridgerton!), and pay attention to the crown molding, door frames, chair rail, and picture box molding throughout.

What is dentil molding and where did it come from? Dentil molding dates back to 500 B.C. in ancient Greek architecture. Just like the name suggests, it is called dentil molding because of its toothlike repetitive structure.

While dentil molding can be found anywhere, it is commonly used in crown molding, and I'm going to show you a very simple way of achieving this look for a fraction of the cost.
Supply List:
Wood Tiles: (these are 1.5 inch tiles but you can pick any size)
Air compressor (if using a pneumatic nail gun)
Paintable caulk (make sure it is paintable!)
Paint of choice (I am using spa blue by behr)
Tutorial:

Determining Spacing between Tiles
Option 1* (may require cutting the end pieces): is to find the center point of your space and work outward. This way both ends will be identical, though it may require you to cut the last two tiles.
*will require the use of a saw or miter shears
Option 2 (the no-cut method): is to measure the space, and divide the size of the space by the size of the tiles. If they go in evenly, you can do a 1:1 ratio for the tiles. If there is any leftover, you can decrease the size of the space between tiles until there is no leftover. You can ask Chat GPT to do the math for you!
Installation

Determine your spacing above. If using option 1, draw the center point and line up the center of the tile.
Using a pin nailer, drive 2 nails through the upper right corner and the bottom left corner of the tile.
Using either a tile for a spacer, or another spacer of whatever size you have determined (if using option 2 above), nail in the next tile to the right.
Repeat until you have nailed all the tiles to the right. If using option 1, cut the last tile to size. You can use miter shears or a miter saw.
Repeat on the left.
You can caulk the edges of the tiles if desired, then prime and paint the molding your preferred color. You won't need to fill any nail holes if you used a finish nail gun!

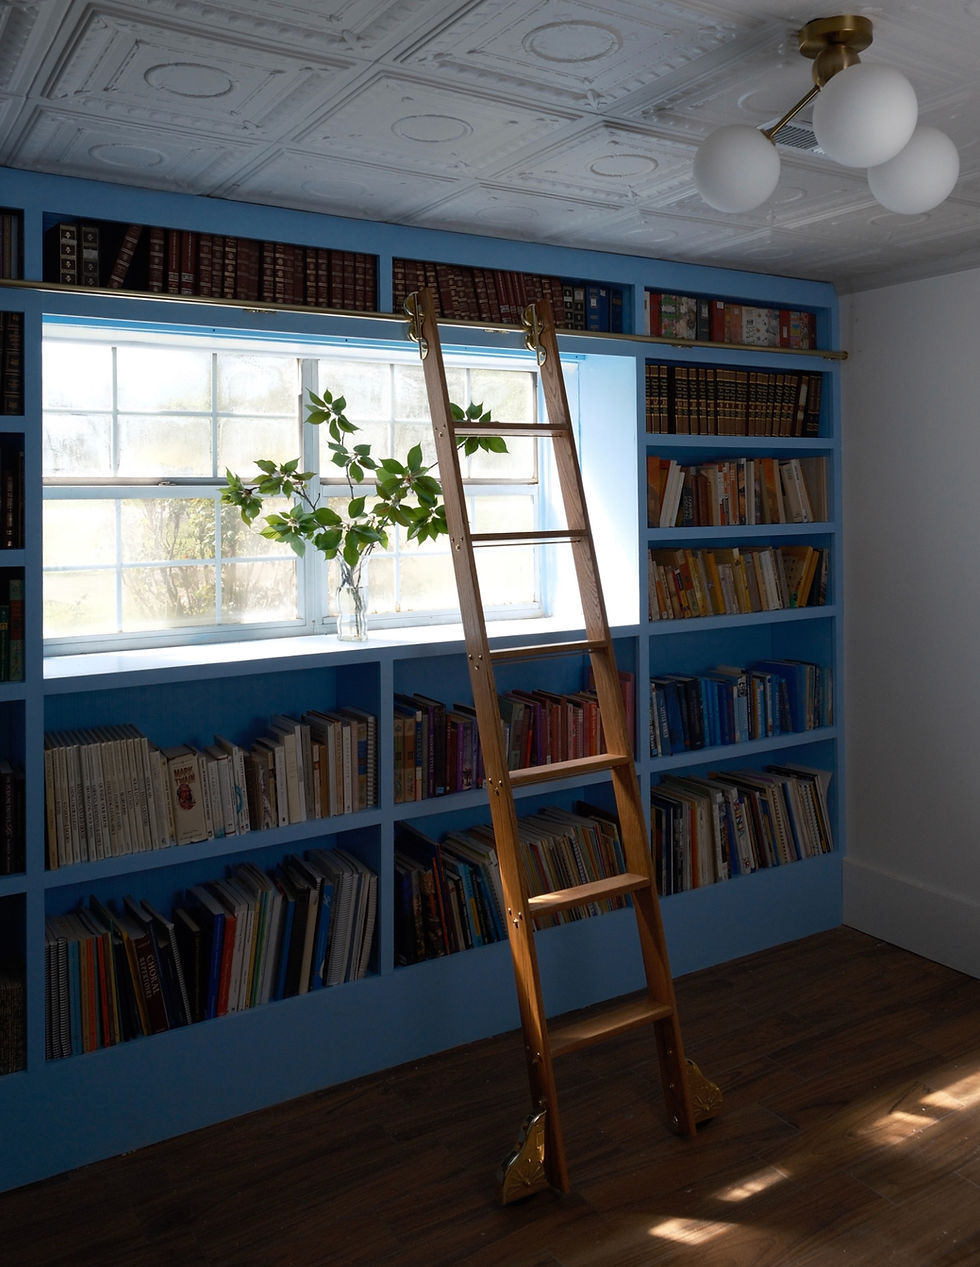
If you want more details on how I built my rolling library ladder, you can read it here. And here is more on my built-in bookshelves!
Make sure to tag me if you try this!
xoxo,
Melissa


Comments